Last evening I was working around a Logic Apps and I needed to send some messages to the EventHubs.
We have two different options, we can use the API app HTTP Connector or we can decide to create and API app which able to do that, this is a good opportunity to understand the development productivity about API Apps.
I would like to use a very simple approach and we can extend this sample as we want, using dynamic configurations, extended features and so on, I just want demonstrate how much is simple do that in some simple steps.
Install the Windows Azure SDK for .NET – 2.5.
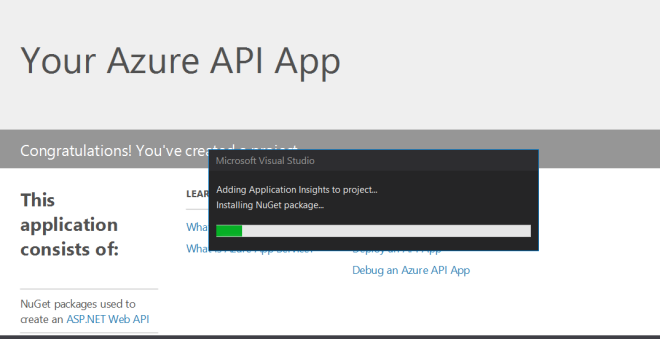
Create a new Visual Studio project, select Cloud and ASP.NET Web Application

Select Azure API App

All the library will be automatically added
Select manage NuGet Packages
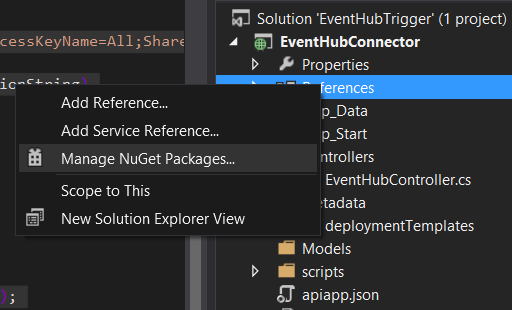 Search for EventHub and select the EventProcessHost package
 [OPTIONAL] Rename the ValuesController.cs class in to EventHubController.cs
Below the simple code we have to use to send an event message to the Event Hubs, copy and past this code in the class file.
[sourcecode language=”csharp”]
using Microsoft.ServiceBus;
using Microsoft.ServiceBus.Messaging;
using System;
using System.Collections.Concurrent;
using System.Collections.Generic;
using System.Linq;
using System.Net;
using System.Net.Http;
using System.Text;
using System.Threading;
using System.Threading.Tasks;
using System.Timers;
using System.Web.Http;
namespace EventHubConnector.Controllers
{
public class EventHubController : ApiController
{
// GET api/values
public string Get(string message)
{
string ehConnectionString = "Endpoint=sb://[EVENTHUB CONNECTION STRING]";
//Create the connection string
ServiceBusConnectionStringBuilder builder = new ServiceBusConnectionStringBuilder(ehConnectionString)
{
TransportType = Microsoft.ServiceBus.Messaging.TransportType.Amqp
};
//Create the EH sender
string eventHubName = "[EVENTHUBNAME]";
//OPTIONS 1
EventHubClient eventHubClient = null;
eventHubClient = EventHubClient.CreateFromConnectionString(builder.ToString(), eventHubName);
EventData data = new EventData(Encoding.UTF8.GetBytes(message));
eventHubClient.Send(data);
return"ok";
}
[/sourcecode]
Now we enable the swagger features, I would like to spend something here because some guys asking me more information about the swagger side.
We have two different options to manage the swagger contract, on is dynamically, entering in SwaggerConfig.cs and uncomment the usual .EnableSwaggerUi lines.

The second is static, this is useful if we want to drive our swagger generation and this is also quite simple to do.
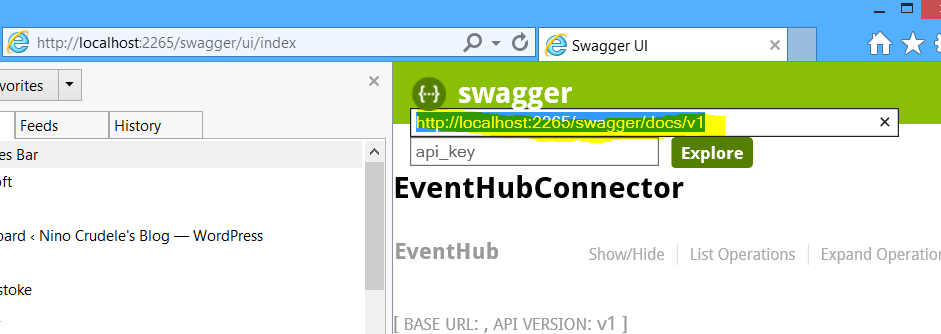
Uncomment the usual EnableSwaggerUi lines , press F5 and execute the project in debug mode.
Navigate on http://localhost:[YOURPORT]/swagger/docs/v1 to get the API json raw version
Open the file in Visual Studio, create a file named apiDefinition.swagger.json Metadata folder and save the content inside the file.

To enable the static feature we just only have to enter in the apiapp.json file and delete the value of the endpoints node , as below
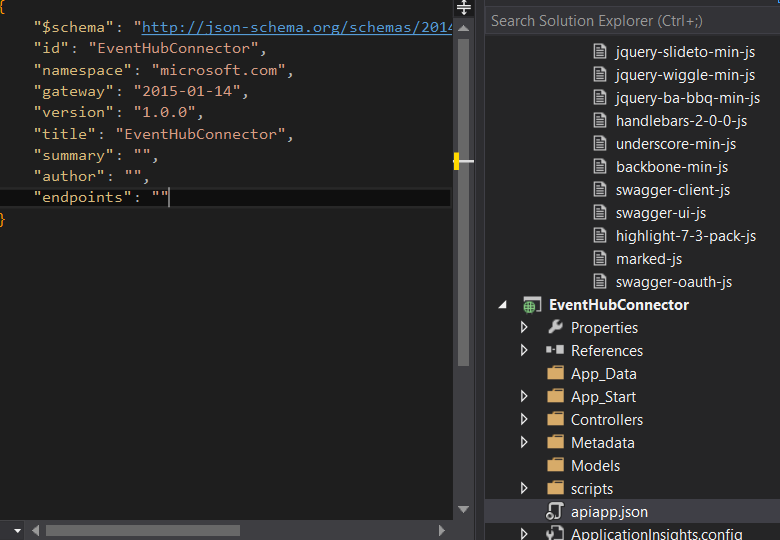
Very easy and fast.
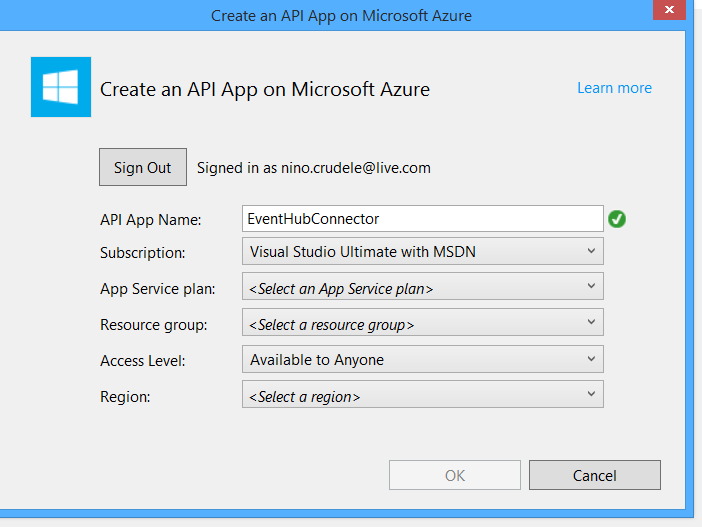
We are ready to publish, right click on project file and select Publish.
Select Microsoft Azure API Apps.

Insert the name of your API app and set all the usual subscription properties as service plan and resource group, we can also create them.
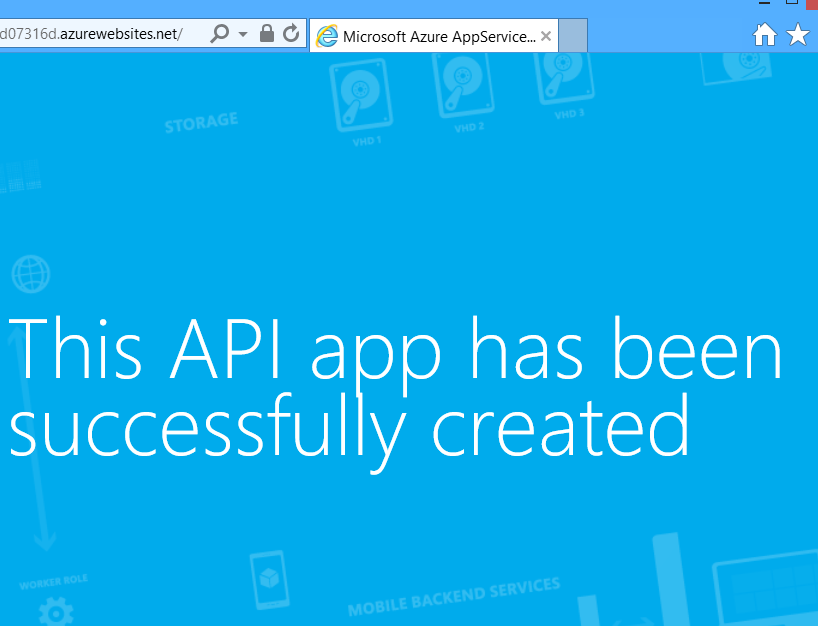
Our API app is deployed and ready to use
This API App which able to send a message to the Azure Event Hubs, very simple and fast to do and we can now extend this API App also to receive message from Event Hubs and create some other interesting features.